Advanced Geometry
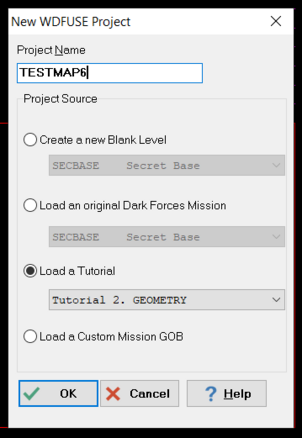
Now that you've learned the basics switch to the Geometry tutorial by starting a New project (you can click the New button in the main menu or press CTRL-N) and choosing the Geometry tutorial and press Ok.
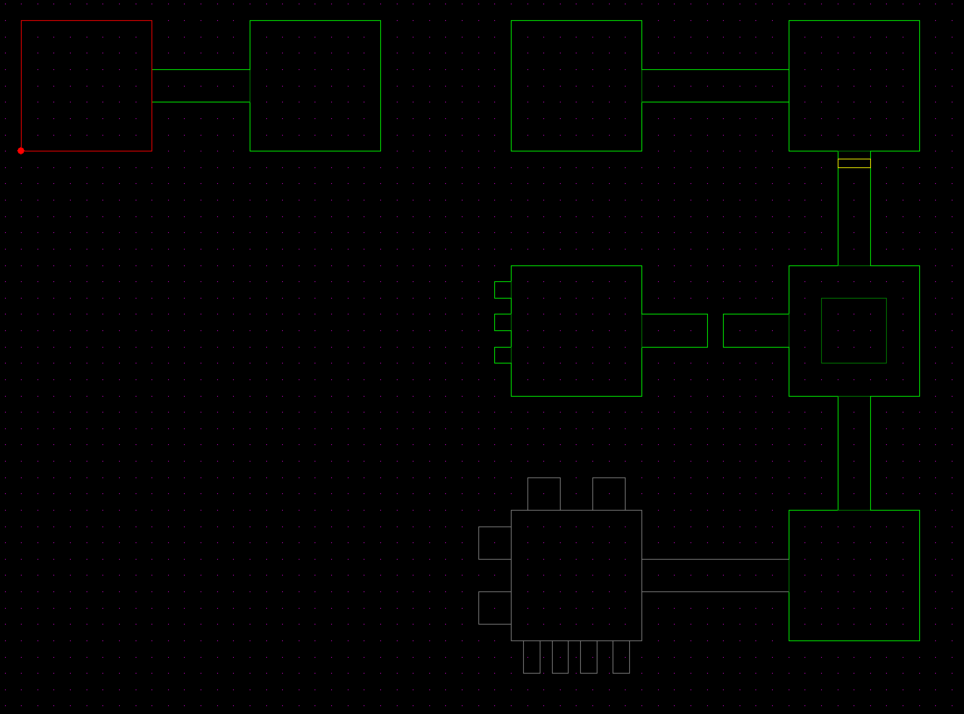
You will be greeted by many sectors with rooms connected via corridors. Each room will teach you something new about Dark Forces editing. All these lessons are quite important so make sure you understand and practice the concepts being taught. Please do this tutorial in order since each room's objective is based on completion of previous lessons.
Remember, if you make a mistake you can simply undo by using CTRL-Z. Also, you can always restart this tutorial by making a new project.
Testing your Map in Dark Forces
We are now at a point where we can start testing our mission. Once the tutorial is loaded press GOB in the top left corner or press CTRL-G. This process will take all the assets in your project directory, put them into a GOB called <PROJECT_NAME>.GOB and tell Dark Forces to launch it.
Note: This assumes you have already configured your Dark Forces Launcher (Steam / GOG / Origin / Custom) and Engine (JEDI / The Force Engine). If not, then press F9 to set it in the Options screen.
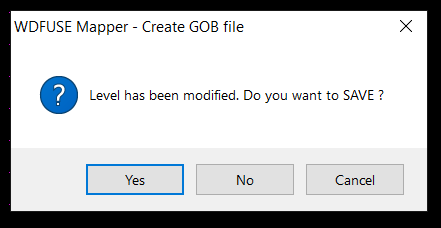
If you made any changes you may get prompted to Save your project. Say "YES" if that happens.
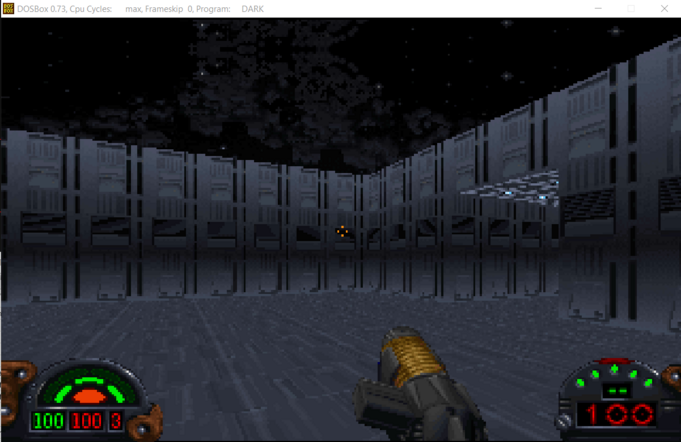
The game will launch and you will find yourself in the tutorial mission. There isn't much to do yet. You can run around between the two rooms connected by the corridor.
Once you confirm that the Dark Forces launches successfully, exit the game and go back to the WDFUSE editor.
Press F9 and switch to the tab "Backup & Launch" . Here you can see various settings that deal with launching the game.
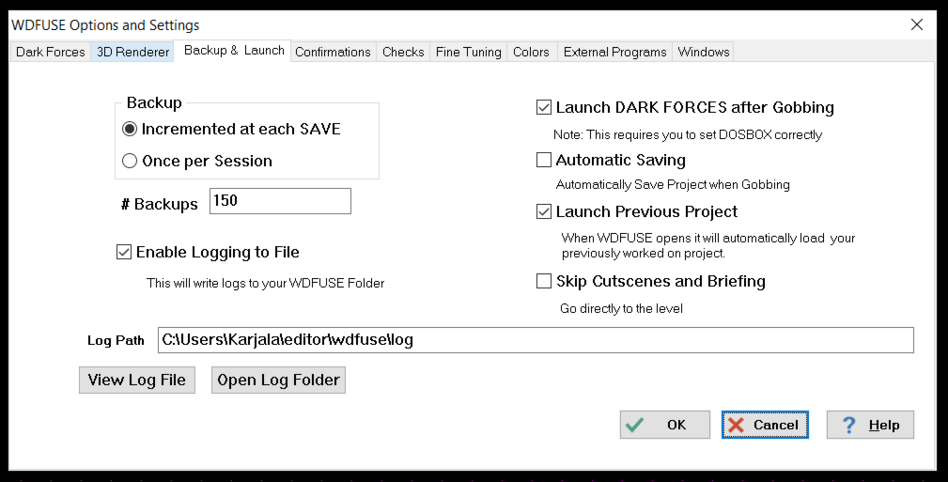
Notice that the editor makes a backup every time you save your project. They are stored in a BACKUP folder inside your project folder. You also have a LOG file you can look at for any issues. You can always bring up the current logfile by pressing F5 .
It is recommended you make two changes when you are working on your map.
- Enable Automatic Saving - this gets annoying very quickly and will stop prompting you every time you try to GOB the mission.
- Enable Skip Cutscenes and Briefing - this will allow you to instantly load into your mission without constantly showing your the cutscenes and the mission briefing (believe me - they get old quick!).
Once you have those two items checked, press OK to exit the options menu. Every time you make settings changes like this they get stored in a file called WDFUSE.INI inside your WDFUSE folder. If you ever want to wipe your setting and start form scratch simply delete that file.
Sector Overview
We had a brief overview of sectors before but now it is time to get into the details. When you select a room in the Sector Mode you will see a window popup that lists all the parameters of the sector.
Go ahead and select the top-left most sector where you start the tutorial.
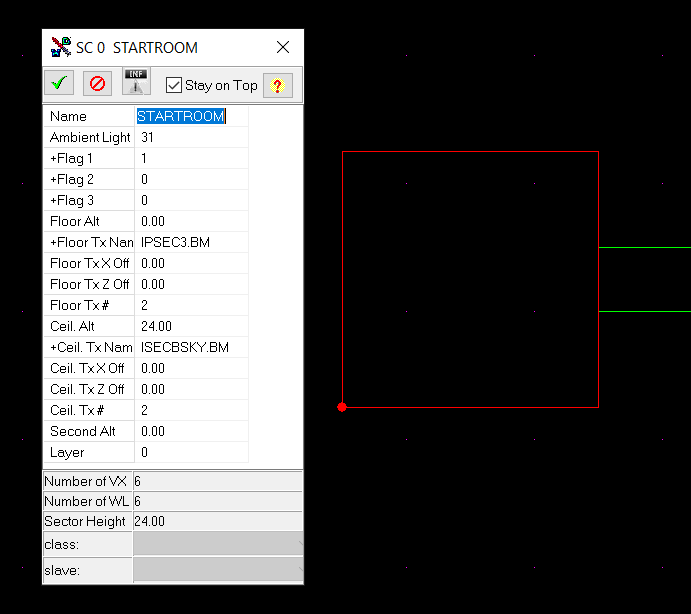
You will see the details of the selected sector that says SC 0 at the top. The 0 is the numerical ID of the sector. Dark Forces starts counting map components from 0. So if you have 10 sectors (or Walls, Vertices or Objects) in total they will be assigned numbers 0 through 9.
While all the sectors must have a number assigned to them, not all of them have a name. In this case this sector is called STARTROOM. Sector names make it easier to reference them when you start scripting and also is a helpful way to identify the sector's function.
Lets go over all the sector components.
- Name - Name of the Sector. This is Optional and can be left blank.
- Ambient Light - how bright a sector is. The number must be between 0 and 31 where 0 is total darkness and 31 is the brightest.
- Flag 1 - Grouping of flags that modify a sector's properties such as. This will be explained in detail later in the tutorial.
- Flag 2 - Unused. (Ignore for now)
- Flag 3 - Sets up custom lighting for the Talay Mission (Ignore for now).
- Floor Altitude - At what vertical position if the floor located at. The floor must always be below the ceiling!
- Floor Texture - Brings up the Texture Editor for the floor.
- Floor TX X Off - Configures the X-horizontal offset for the floor texture.
- Floor TX Z Off - Configures the Z-horizontal offset for the floor texture.
- Floor Tx # - Unused (Ignore for now)
- Ceiling Altitude - At what vertical position if the ceiling located at. The ceiling must always be above the floor!
- Ceiling TX X Off - Configures the X-horizontal offset for the ceiling texture.
- Ceiling TX Z Off - Configures the Z-horizontal offset for the ceiling texture.
- Ceiling Tx # - Unused (Ignore for now)
- Second Alt - Dark Forces supports one additional altitude on which you can walk. This is optional.
- Layer - What map layer this sector belongs to.
Finally, you can also find a sector either by name or by numerical ID by pressing the F key. The search menu will popup allowing you to quickly find your sector.
