Objects
In this tutorial we will talk about Dark Forces objects. These include the enemies you fight, the items you pick up, the sound effects and the 3D renderings of the Moldy Crow. Some objects are visible and some are invisible. Some have logic assigned to them and some do not. In this section we will do a deep-dive of all the object types and how to use them in WDFUSE.
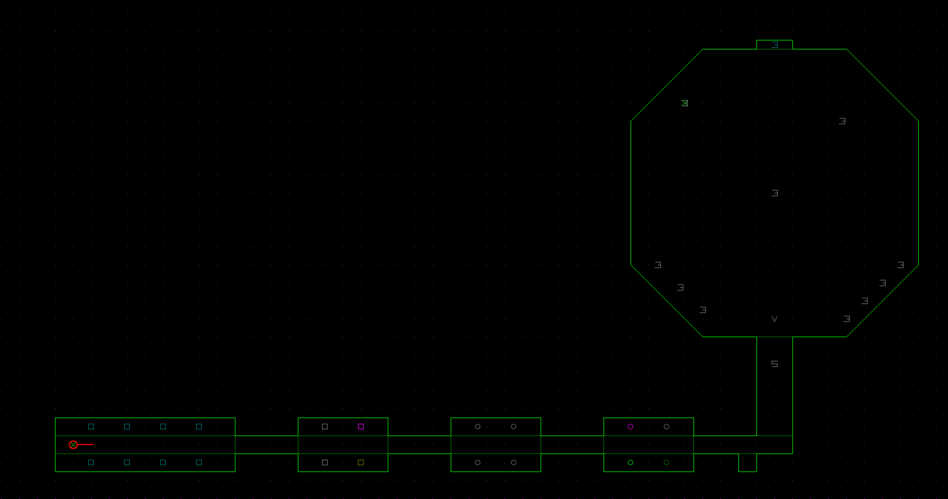
To get started load up the Objects tutorial in the New Projects ( Ctrl+N ) section. Load up the map and switch to Object Mode.

Object Editor
It's time to learn about Object Editor properties. While in Object Mode go ahead and select the Player on the left hand side.
Object Properties

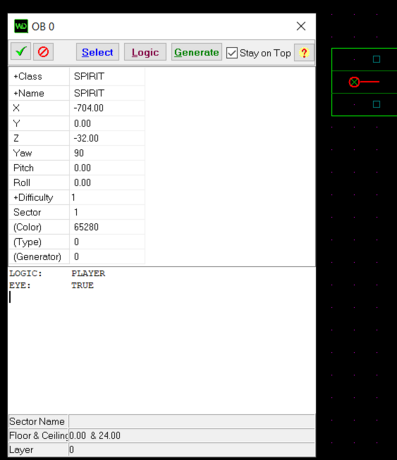
Just like the other editors you will see that each Object has a numerical ID. In this case the OB # is 0. Let's go over the properties of the object
- Class - This is the Type of object. For example, it could be a Sprite or a Frame or a Sound
- Name - This is the name of the of the object. For example a Stormtrooper or an extra life.
- X - The X position on the map.
- Y - The Y altitude on the map.
- Z - The Z position of the map.
- Yaw - The Yaw rotation of the object.
- Pitch - The Pitch rotation of the object.
- Roll - The Yaw rotation of the object.
- Difficulty - The Difficulty setting of the object (Ex: An extra life only appears on Easy mode).
- Sector - What sector the object belongs to.
- Color - The Color of the object on the map.
- Type - The Type of the object (Ignore - for now).
- Generator - Does it use a generation logic (Respawning stormtroopers).
At the top you will see the ubiquitous Commit, Rollback and Stay-on-top buttons as well as the new Select, Logic and Generate buttons. The Select button allows you to choose the object you want, the Logic will automatically assign the default logic for the object and Generate will load the logic to respawn the object (Infinite stormtroopers).
At the bottom you will see a text edit box for the object's Logic. And below that you will see the name of the Sector the object belongs to, the Floor and Ceiling heights as well as the map Layer in which the object is drawn.
Adding and Selecting an Object
Just like in the Geometry section you can Add an object by pressing the Insert key and it will make a copy of a new object. Or you can right click on the map and in the pop-up menu choose Duplicate.
Once the object is created you have two main ways to choose the object you want. You can either double-click on the
The Select button allows you to pick and choose the
Sprite Objects
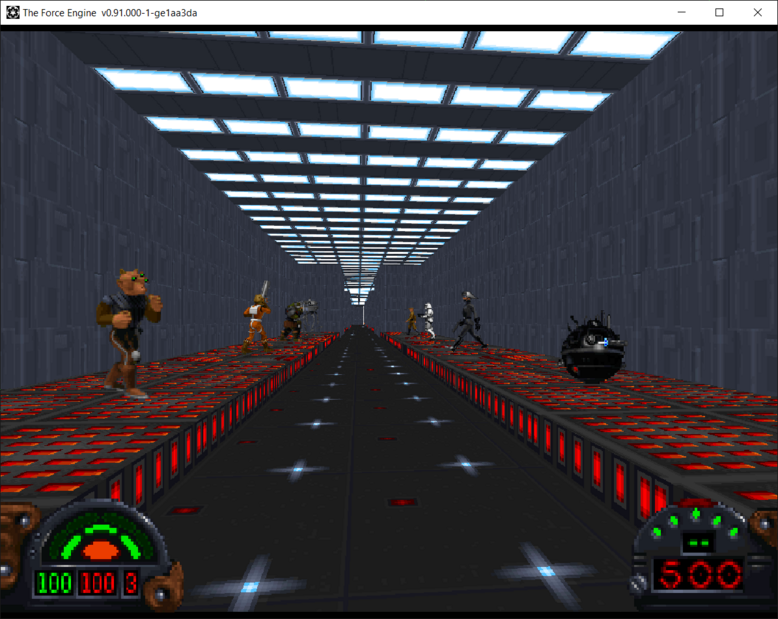
Go ahead and GOB your mission and you will find yourself in a hallway of of various enemies.

Don't worry, they won't attack you. All the logic from them has been removed.