No edit summary |
No edit summary |
||
| Line 1: | Line 1: | ||
== Doors == | == Doors == | ||
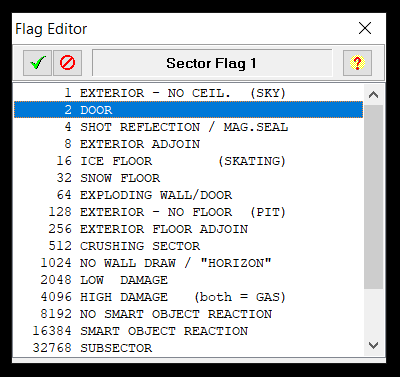
Now it is time to go over making and interacting with doors. Keep in mind that everything in Dark Forces that moves is an elevator. This means that doors as well, are just different variations of elevators. One important to keep remember is that while you can always make a door with INF logic, it is '''much easier''' to just set the Flag 1 value to '''2''' (Door), and it has an additional benefit: enemies chasing the player can open the doors in their way, but cannot operate elevators. This can be used either way - to prevent the player from "cheaply" escaping through the door, but also elegantly preventing the enemies from reaching the areas where you don't want them. | Now it is time to go over making and interacting with doors. Keep in mind that everything in Dark Forces that moves is an elevator. This means that doors as well, are just different variations of elevators. One important to keep remember is that while you can always make a door with INF logic, it is '''much easier''' to just set the Flag 1 value to '''2''' (Door), and it has an additional benefit: enemies chasing the player can open the doors in their way, but cannot operate elevators. This can be used either way - to prevent the player from "cheaply" escaping through the door, but also elegantly preventing the enemies from reaching the areas where you don't want them . | ||
[[File:DoorFlag.png|none|thumb|400x400px]] | [[File:DoorFlag.png|none|thumb|400x400px]] | ||
With that out of the way lets continue to the '''DOORS1''' room. | With that out of the way lets continue to the '''DOORS1''' room. | ||
Revision as of 22:30, 17 July 2022
Doors
Now it is time to go over making and interacting with doors. Keep in mind that everything in Dark Forces that moves is an elevator. This means that doors as well, are just different variations of elevators. One important to keep remember is that while you can always make a door with INF logic, it is much easier to just set the Flag 1 value to 2 (Door), and it has an additional benefit: enemies chasing the player can open the doors in their way, but cannot operate elevators. This can be used either way - to prevent the player from "cheaply" escaping through the door, but also elegantly preventing the enemies from reaching the areas where you don't want them .
With that out of the way lets continue to the DOORS1 room.
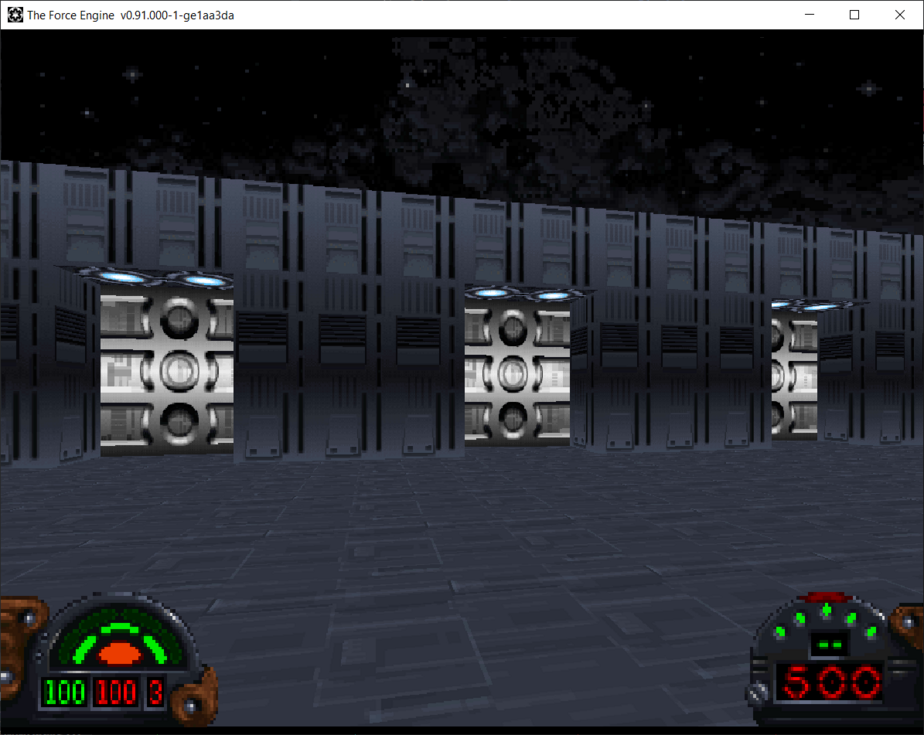
For this part you may want to move the Player Start so you start immediately in this room.
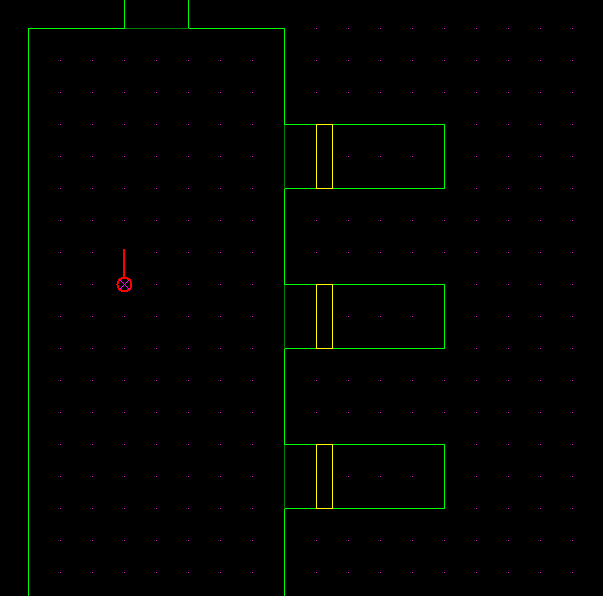
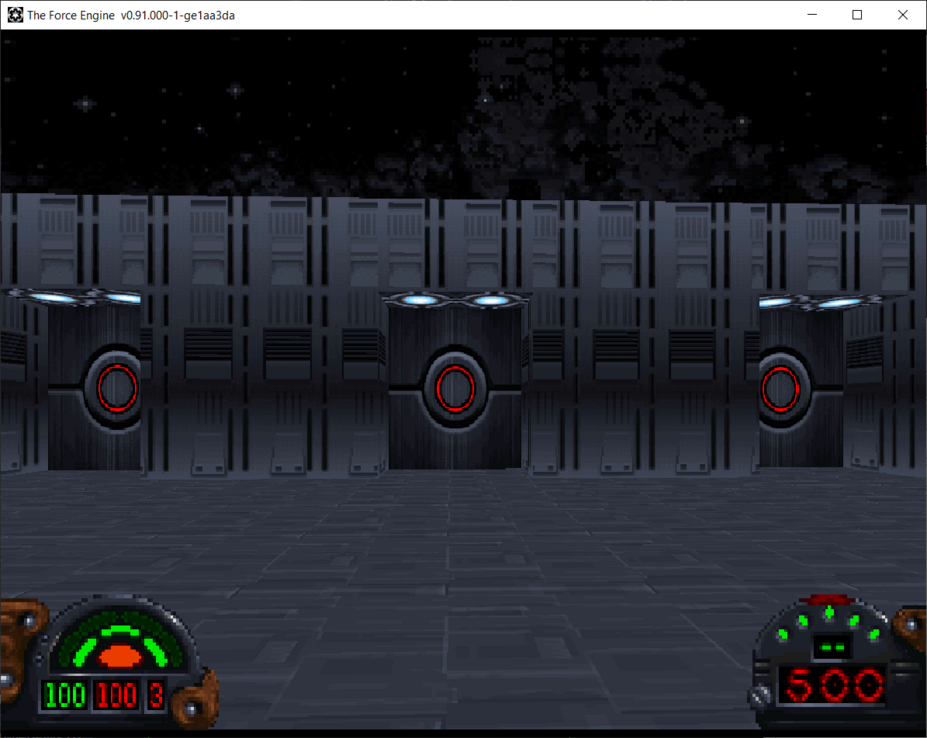
In front of you are three doors. Lets look at the logic of the one on the left called DOOR1
seq
  class: elevator door
seqend
If you run this in the game you will realize that this is a normal door. In fact, it is identical to you just setting flag value 2 in your Sector Editor.
Look at DOOR2 in the middle with the red key floating in front of it.
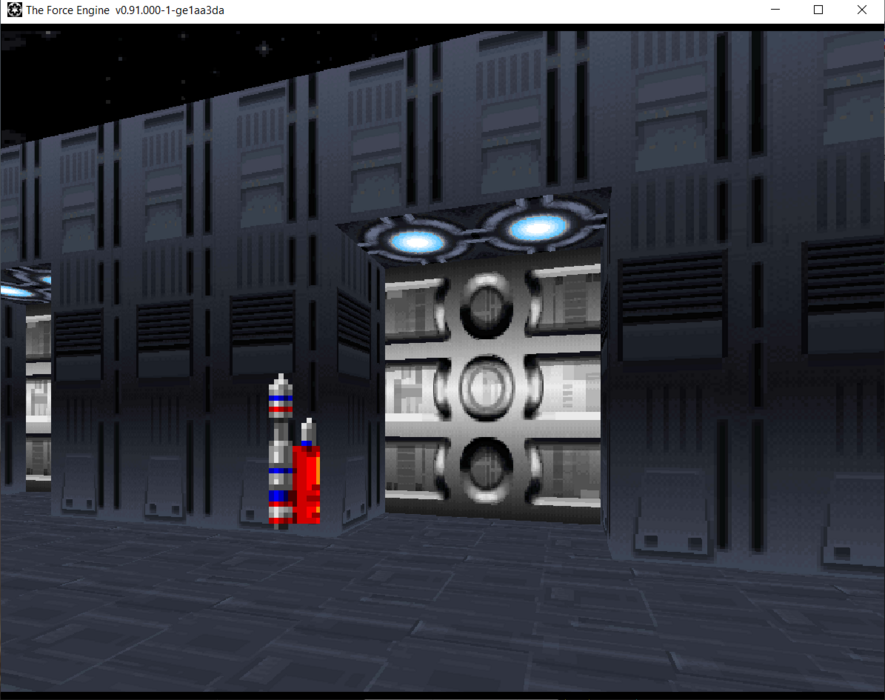
It behaves exactly the same but it makes a different sound. That's because it is a different type of elevator.
seq
  class: elevator inv
      key: red
      speed: 30
      event_mask: 32
    stop: 0 hold
    stop: 16 5
seqend
You can see it is an elevator of type elevator inv which moves the ceiling altitude. In this case from height 0 to 16. You interact with it by nudging the line from the outside (event_mask 32). This is yet another, albeit more complicated way of making a door.
Additionally, you can see that it has a key parameter. You can use this to make your door require a key before opening.
Now the reason the audio is different for this door is because all elevators have different default audio assigned to them. Here is a nice chart showing all the default values of by elevator type.
(elevs change_light, change_wall_light, scroll_floor, scroll_ceiling, and scroll_wall) | sound: 1 0 | sound: 2 0 | sound: 3 0 (elevs move_floor, move_fc, basic, basic_auto, change_offset, door_inv and bottom half of door_mid) | sound: 1 elev2-1.voc | sound: 2 elev2-2.voc | sound: 3 elev2-3.voc (elevs move_ceiling, inv, morph_move1, morph_move2, morph_spin1, morph_spin2, move_wall , rotate_wall and top half of door_mid) | sound: 1 door2-1.voc | sound: 2 door2-2.voc | sound: 3 door2-3.voc (elevator door) | sound: 1 door.voc | sound: 2 0 | sound: 3 0 (trigger standard) | sound: 0 (triggers switch1, single and toggle) | sound: switch3.voc |
Lets walk to DOOR 3 . You will notice that it moves from top to bottom. In reality it is just a standard elevator move_floor but is built as a door.
seq
  class: elevator move_floor
      sound: 1 DOOR2-1.VOC
      speed: 10
      event_mask: 32
    stop: 16 hold
    stop: 0 5
seqend
We've changed the sound effect so it sounds more like a door instead of an elevator default audio.
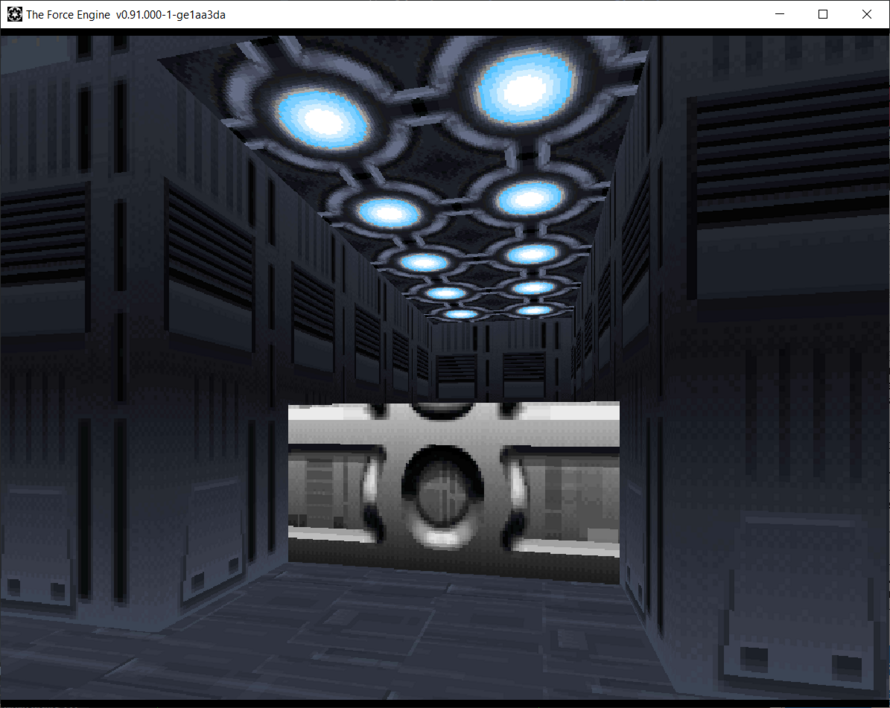
Take a closer look and you will see that the walls are not anchored. This is the same problem that you've seen earlier in the tutorial. Remember, you can fix this by adding the Flag 16 (Wall Anchored flag).
Door Triggers
There is more than one way to open a door than just pressing Use on it. You may have noticed that in some missions the doors open automatically when you get near them. This is done through sector and wall triggers, usually when you traverse a wall. Lets look at the doors on the other side of the room.
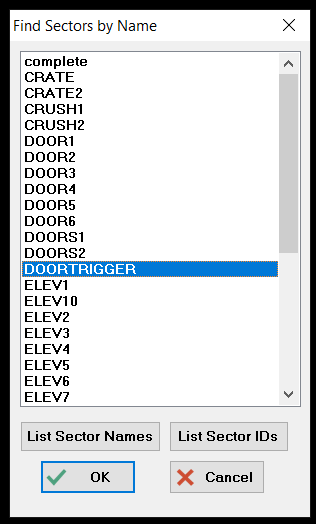
Lets look at the sector called DOORTRIGGER . If you are having trouble finding it, remember you can always find a sector using the F key to bring up the sector finder tool.
This sector is on the other side of the room. It's right in front of DOOR4 .
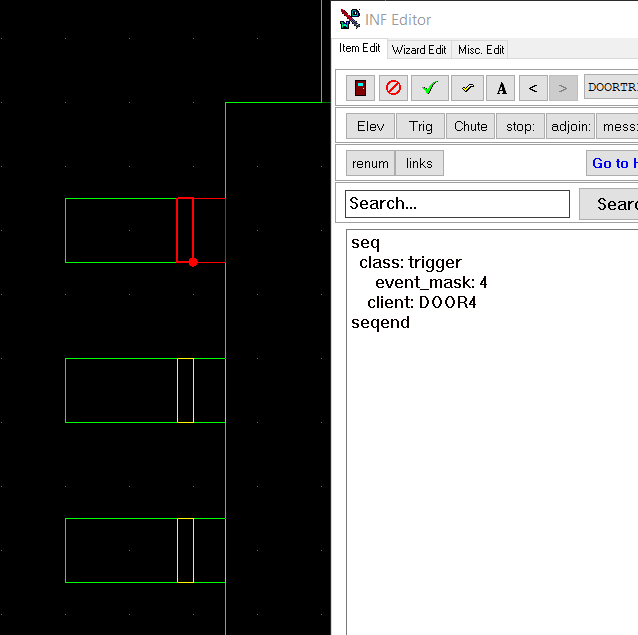
Lets look at the INF code. The doors are all basic doors so we can ignore them. Concentrate on the triggers.
seq
  class: trigger
      event_mask: 4
    client: DOOR4
seqend
Here you can see that the sector you are in is actually a trigger. If you were to enter it (Flag 4) it will trigger DOOR4. Give it a try in the game. When you enter this sector. The door opens automatically!
You can do the same action without the need of entering a sector. Take a look at wall 21 of the DOORS1 sector. It's a trigger to open DOOR5. When you cross the line the ROOMS1 side the door will open.
seq
  class: trigger
      event_mask: 1
    client: DOOR5
seqend
This is identical to the sector entrance code except this event_mask of 1 applies only to Walls.
Now go down one door to DOOR6. Try walking through the door. Notice that the door does not open when you cross the line? It's because it only opens when you go back (or traverse backwards through the line).
seq
  class: trigger
      event_mask: 2
    client: DOOR6
seqend
An event_mask of 2 is identical to you leaving the sector. This also only works on Walls. You can combine flags 1 and 2 to trigger anything in the game by entering and leaving a particular wall.
Crush Sectors
Let's have a small interlude and walk down the hallway to the crushing sectors.
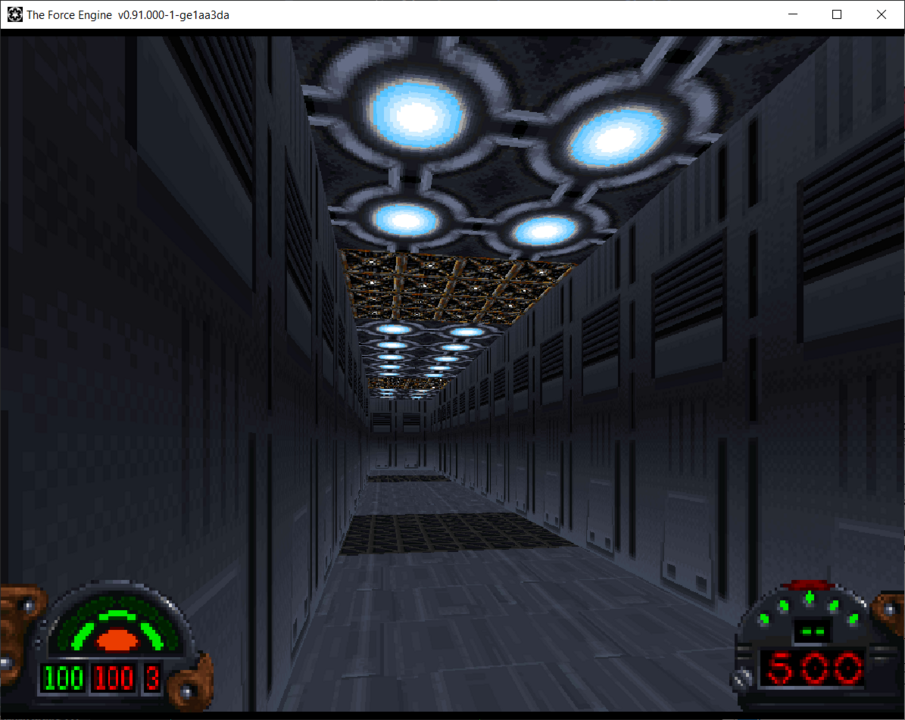
Go ahead and walk underneath the first CRUSH1 sector. Notice that you don't get hurt? What is going on. Lets look a the code of that sector.
seq
  class: elevator move_ceiling
      speed: 100
    stop: 16 5
    stop: 0 2
seqend
It's an elevator that moves the ceiling up and down. This is the same kind of logic used to crush you in Detention Center or the Robotics Facility missions. By default, the elevator will stop if the player or an enemy is in the way. You will need to make one small change to actually get hurt by it.
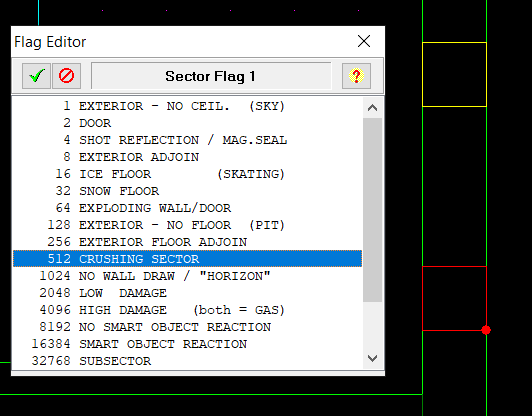
Look at the code for CRUSH2 sector. You will see it is identical to CRUSH1 . So what is the difference? If you guessed flags, you would be correct. CRUSH2 sector has an additional Crushing flag that the first crusher does not.
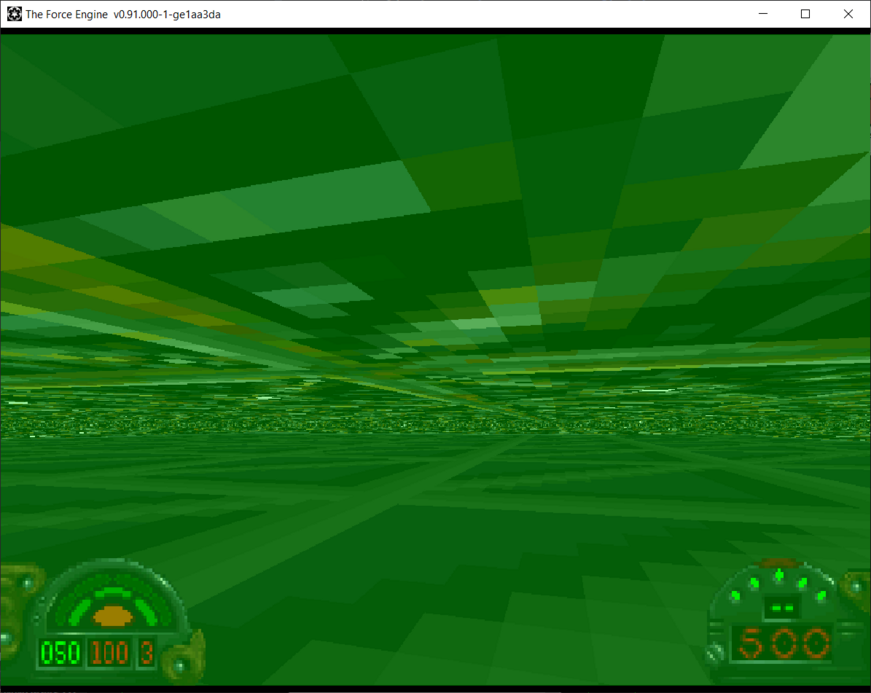
Sure enough, if you walk underneath the second crusher you will get hurt. Ouch!
Now lets continue along the hallway.
Door Switches
Lets get back to working with switches. Look around the DOORS2 room (and don't forget to move the player starting position to this new room).
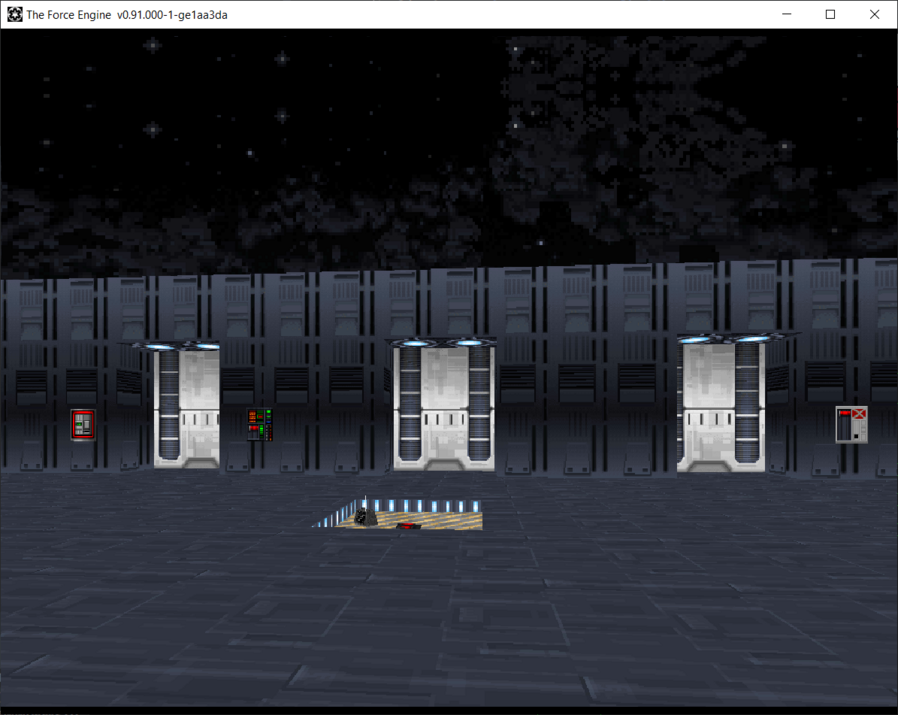
Lets look at DOOR7 at the bottom. It has a switch that opens it to the right.
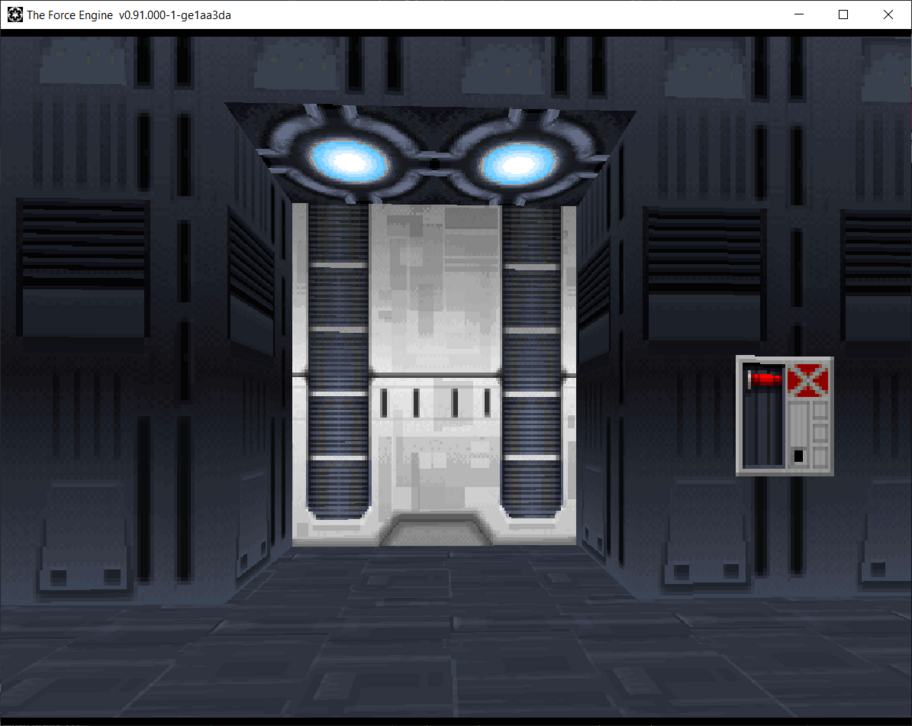
Lets look at the switch code first. Located on Wall 10 of DOORS2 it's a pretty standard switch.
seq
  class: trigger switch1
    client: DOOR7
seqend
Just like the elevators before, it is a trigger switch1 type that waits for the door to message it back when it closes again. Sure enough, when you look at the code for the door sector, you will see it messages the trigger when it goes back to the initial position.
seq
  class: elevator inv
      speed: 30
    stop: 0 hold
      message: 0 DOORS2(10) done
    stop: 16 5
seqend
Sector Entity Masks
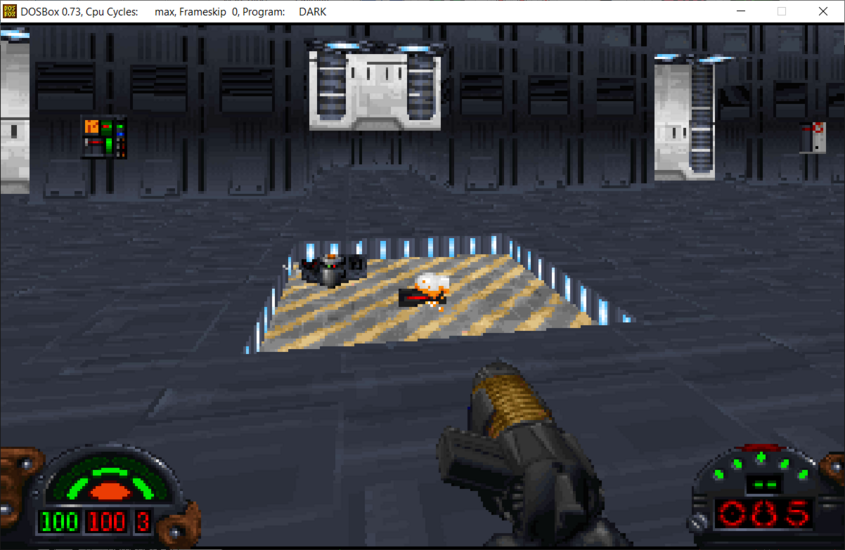
If you remember your entity_mask rules you will know that the player and your weapons are not the only way to trigger an action. Lets look at the mousebot in the middle of the room that keeps triggering DOOR8 when it exits the striped yellow part of the sector.
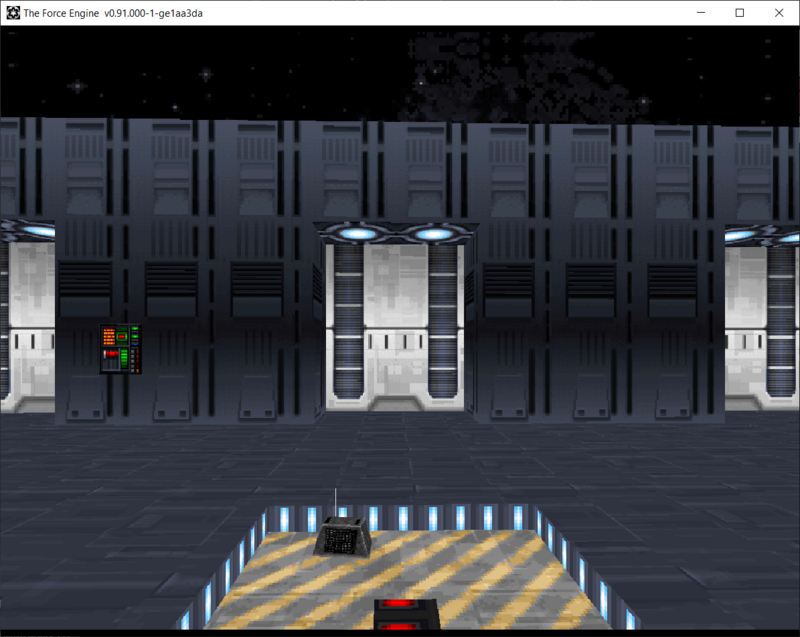
SUBSECTOR2 is the striped portion while SUBSECTOR1 is the red dots in the middle.
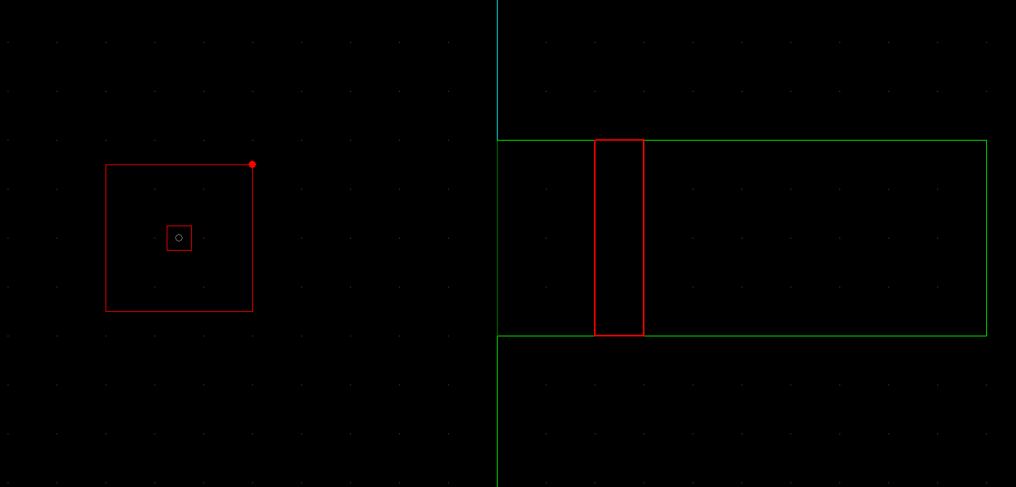
Lets look at the SUBSECTOR2 code. The client is DOOR8 in this case (or the door in front of it).
seq
  class: trigger
      entity_mask: 1
      event_mask: 8
    client: DOOR8
seqend
In the code you also can see that the entity_mask is 1 which means this trigger will only be triggered by an enemy (or a mousebot in this case). And the event_mask is 8 which means that anytime the mousebot leaves the striped sector the door will open. Lets make a change. Instead of the enemy mousebot triggering the door, lets change it to ALL entities (Weapon, Enemy and Player). Change the entity mask to * (or ALL entities).
seq
  class: trigger
      entity_mask: *
      event_mask: 8
    client: DOOR8
seqend
Run the game and you will see that you can now trigger the door opening by either walking over the red dot, letting the mousebot run over it or shooting it with a blaster!
Master Switches
Lets look at DOOR9 . You will see that there are two switches. One on the left and one on the right.
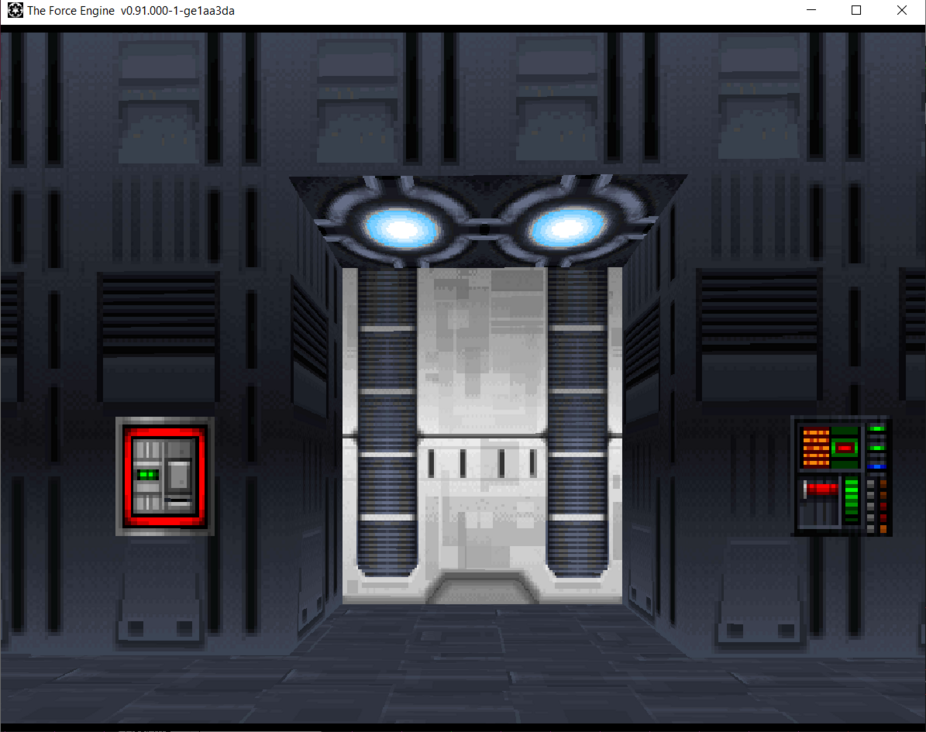
The switch on the left is a simple toggle switch with this code to run DOOR9.
seq
  class: trigger toggle
    client: DOOR9
seqend
Try pressing the left switch. Nothing happens right? Lets see what is going on. Click on the code of the DOOR9 sector.
seq
  class: elevator inv
      master: off
      speed: 30
    stop: 0 hold
      message: 0 DOORS2(4) done
    stop: 16 5
seqend
You will see a new keyword called master. A Master determines whether an elevator or trigger is able to function. It can either be ON or OFF.
off
Default: | master: on |
Right now, this sector's master is turned OFF. Which means it is ignoring all trigger commands you are sending it. Now lets look at the code for the switch on the right side of DOOR9 .
seq
  class: trigger single
      message: master_on
    client: DOOR9
seqend
Here the switch sends a custom message that tells the client DOOR9 to turn its MASTER to on. When you press the right switch the door is now active and can receive commands. Go ahead and press the left switch now and you will see that the door now opens!
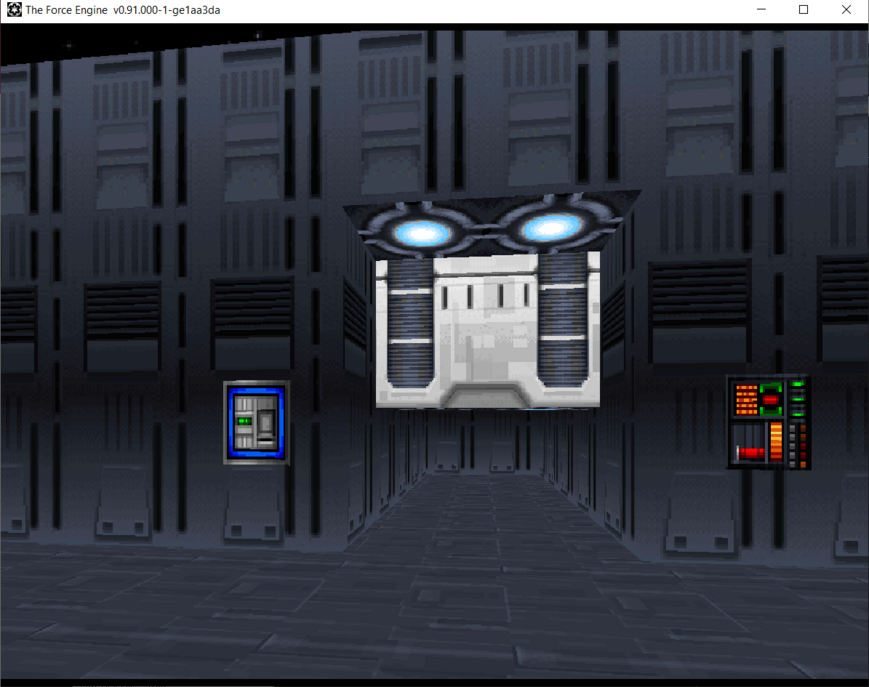
This is the same mechanism that the Talay mission uses to turn on all the doors when you flip the hydro-electric power on.
Click here to proceed with the Scripting III tutorial.
WDFUSE Tutorials
- Introduction
- WDFUSE Tutorial - Configuration
- WDFUSE Tutorial - Basic Geometry
- WDFUSE Tutorial - Basic Geometry II
- WDFUSE Tutorial - 3D Renderer
- WDFUSE Tutorial - Advanced Geometry
- WDFUSE Tutorial - Advanced Geometry II
- WDFUSE Tutorial - Advanced Geometry III
- WDFUSE Tutorial - Objects
- WDFUSE Tutorial - Scripting
- WDFUSE Tutorial - Scripting II
- WDFUSE Tutorial - Scripting III