No edit summary |
No edit summary |
||
| Line 130: | Line 130: | ||
[[File:Uploaddelt.png|center|thumb|1003x1003px]] | [[File:Uploaddelt.png|center|thumb|1003x1003px]] | ||
The program will convert the BMP to DELT format and you will download a file called ''' | The program will convert the BMP to DELT format and you will download a file called '''converted_<uniqueid>.DELT'''. You need to rename it to the mission name, in our case JABSHIP.DELT and put the delt file (using CONMAN) back into DFBRIEF.LFD to see your changes. | ||
[[File:Smileybriefing.png|center|thumb|998x998px]] | |||
See - it is pretty easy to do whatever you want with custom briefings! | |||
Revision as of 10:48, 22 March 2024
Why Convert?
Some classic maps are no longer compatible with modern engines such Dark Forces: Remaster or the The Force Engine . Their assets may be spread across multiple files and the LFD files may be renamed and are no longer detectable by the game. The uniform batch file may missing or may execute 16-bit DOS programs that are no longer compatible on modern systems. Having a standardized format for Dark Forces missions is important for automating mod loaders. We want to make it as simple as possible for new playerss to enjoy Dark Forces missions.
What must a modern map support include?
- It must support running in The Force Engine and preferably Dark Forces Remaster. DOS support is preferable but optional.
- The mission may have bugs but it must be completable - that is - it must have objectives that can result in Mission Complete message.
- It must have a single entry point - a start.bat file - that a user or a mod loader would execute. This is not required for TFE support.
- It must have a metadata.txt file that includes information such as the author, name of the misison, release date, version information as well as optional walkthroughs or reviews.
- For DOS and Remaster support it should attempt to clean up any stale LFD files (Such as DFBRIEF.LFD) so as not to pollute the directory.
- It should support multiple game stores such as STEAM and GOG.
- It should have a mission briefing as well as objectives.
- It should include a few screenshots that show off the misison.
Conversion Process Basics
The process for converting missions is generally the same and you can use this guide for any mission you choose. If you already have a mission to modernize and you know it is not available in the Modernized Page then you can skip the download step below.
1. Downloading the misison
First we need to find a mission to convert. You can go Here to see which missions have already been converted. You will see a google docs spreadsheet with level links. Look for those that are marked as Original
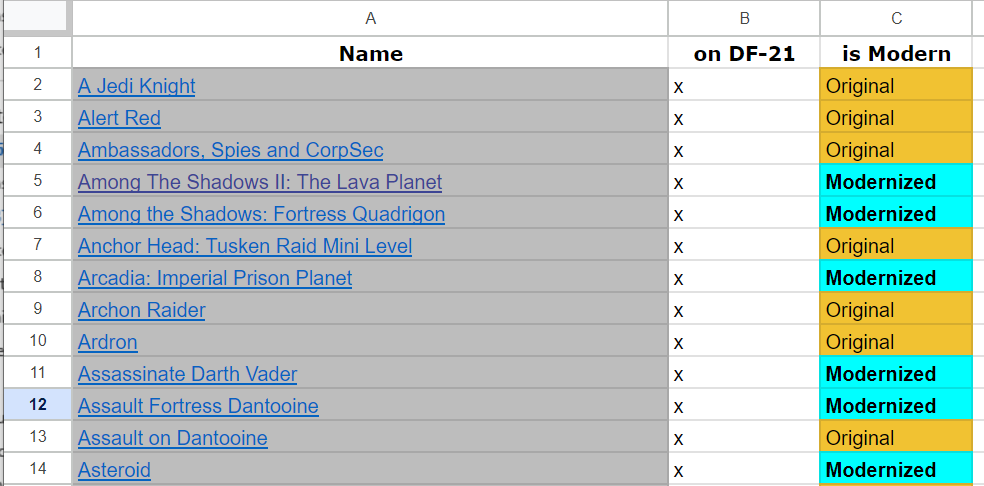
To get started lets go ahead and modernize a mission called Anchor Head: Tusken Raid Mini Level. Click on the download link from the google docs and you will have a file called anchor2.zip. This is the oringial classic mission that needs to be modernized. Here are the contents of the zip file.

2. Mission Zip Structure
All Dark Forces missions should be in a zip file format (not a rar!). They need to have four components.
- The GOB that is the mission file itself
- The DFBRIEF.LFD that contains the briefing information as well as mission objectives
- The start.bat that should start the mission.
- Optionally: The README.TXT file (or any .TXT file that explains mission instructions).
Lets look at the anchor2.zip example.
It includes three files. The anchor.bat , ANCHOR.TXT as well as ANCHOR.GOB. The GOB is the mission itself and what we will need to modernize. You will notice it is missing DFBRIEF.LFD - we will have to create it ourselves.
3. Ensure the map is completable
The first thing you need to do is make sure the mission can be finished with modern engines. Go ahead and play it using The Force Engine or Dark Forces: Remaster.
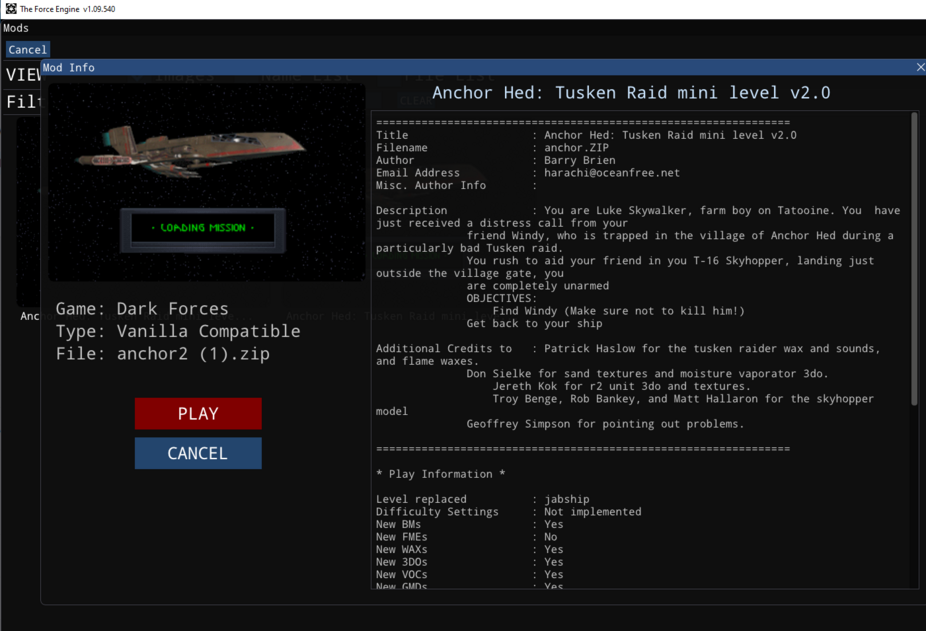
To test using the The Force Engine simply put the anchor2.zip (it must be in a zip!) and select it from the MOD menu. Play through it and ensure you get Mission Completed. If the misison has critical bugs you (or someone else) will need to fix them using WDFUSE or another editor which is out of scope for this guide.
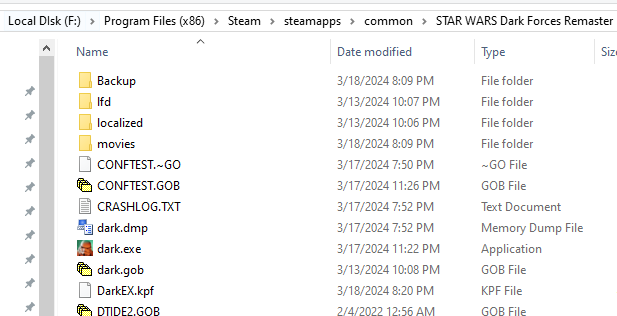
If you are testing using Dark Forces: Remaster make a COPY the khnosu_shipping_<store_name>_x64 executable in your Steam or GOG directory to dark.exe. It should look like this - just CTRL-C and CTRL-V on your executable and name it dark.exe.
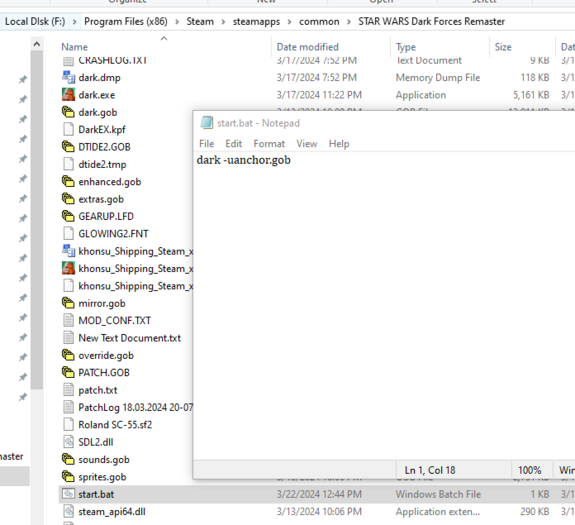
Create a batch file (using Notepad for example) and call it start.bat. Put this text inside the batch file.
dark -uanchor.gob
The -u parameter tells Dark Forces to use a custom a mission in this case, anchor.gob. For other missions you just put the name of the GOB you are working with such as bobafett.gob or academy.gob etc... .
In the example of anchor2.zip we already have a file called anchor2.bat that runs the GOB through Dark Forces. All we need to do is rename it to the standard name start.bat. It should look like this after you rename it - be sure to put the file in your Star Wars folder where dark.exe is located.
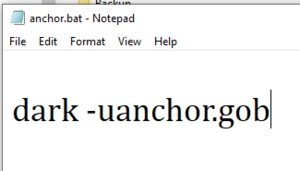
To run the mission just double click on start.bat and the Remaster (now named as dark.exe) will run the mission. Be sure you can complete it!
Briefing File
Each modernized mission must have a briefing and objectives. This data is preserved in a file called DFBRIEF.LFD and must be present in the zip to be loaded by The Force Engine or simply extracted to be visible by the Remaster. Some missions already have this file so you can skip thi step but many do not. This guide will talk about creating a DFBRIEF file from scratch.
Important Note: This guide assumes there is only ONE mission in the GOB file (which is the vast majority of missions) . If there are mulitple mission additional work will need to be done in terms of multiple objectives and briefings.
Figuring out briefing details and objectives
To populate the briefing file you need to give it a description of the mission and some objectives. Typically, you can get this from the readme file that comes with the mission. If you do not have this you will need to come up with a few sentences that explain what needs to be done. Here is an example from ANCHOR.TXT
================================================================
Title : Anchor Hed: Tusken Raid mini level v2.0
Filename : anchor.ZIP
Author : Barry Brien
Email Address : harachi@oceanfree.net
Misc. Author Info :
Description : You are Luke Skywalker, farm boy on Tatooine. You have just received a distress call from your
friend Windy, who is trapped in the village of Anchor Hed during a particularly bad Tusken raid.
You rush to aid your friend in you T-16 Skyhopper, landing just outside the village gate, you
are completely unarmed
OBJECTIVES:
Find Windy (Make sure not to kill him!)
Get back to your ship
================================================================
Here the author graciously provided us the information so now we need to create the DFBRIEF file itself.
Mapping briefing file to the mission
Dark Forces has 14 missions with names like SECBASE, TALAY or IMPCITY. We need to know which of the missions is being replaced and needs to have a briefing file. To do that we have to open the GOB file and look at the contents. There are many tools we can use but the easiest one is called CONMAN which you can download Here . Simply download and unzip the CONMAN program and then open the GOB file (in our case ANCHOR.GOB) .
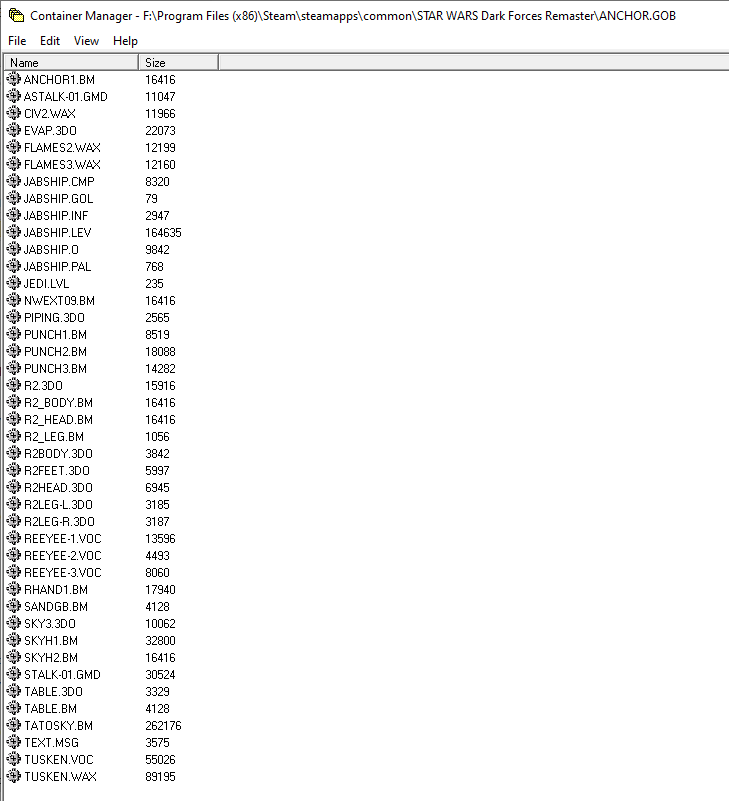
As you see, there are many files here but the ones we need is called JEDI.LVL . If you extract it - by either CTRL-C / CTRL-V the file into a folder or choosing File --> Extract Files option , then you can open it in NOTEPAD (or any other text editor) and see which mission is being overwritten. In our case, the mission being replaced is JABSHIP so this is what we will need to create a mission briefing for.
LEVELS 1
Anchor Hed, JABSHIP
// (Comments must be at the end of this file)
// This file contains the list of all the levels in Jedi,
// and the DOS names for those levels.
Now that we have information on the mission being replaced and the description and objectives we should be ready to create a DFBRIEF.LFD file.
Creating a new DFBRIEF.LFD file
LFD files can also be opened with the CONMAN tool you used to open up the GOB. One would need to create a JABSHIP.ANIM and JABSHIP.DELT files that contain the briefing information. Specifically, the ANIM file contains the mission objetive overlays (Ex: Blue and Yellow color overlays) and the DELT file contains the mission briefing itself. If you open DFBRIEF.LFD with conman you will see the contents of the file.
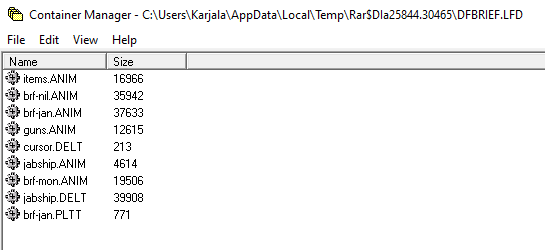
This is a highly complicated process that requires you to ensure you have pixel-perfect images. Because it is so complicated we've created a briefing generator at DF-21 which creates you the DFBRIEF.LFD file in seconds.! All you need to do is fill in the information.
Start by going to the briefing generator page here On this page you need to fill out the briefing information. Be sure to select JABSHIP as the level you are placing (or the DFBRIEF.LFD won't work in game). It shoudl look like this.
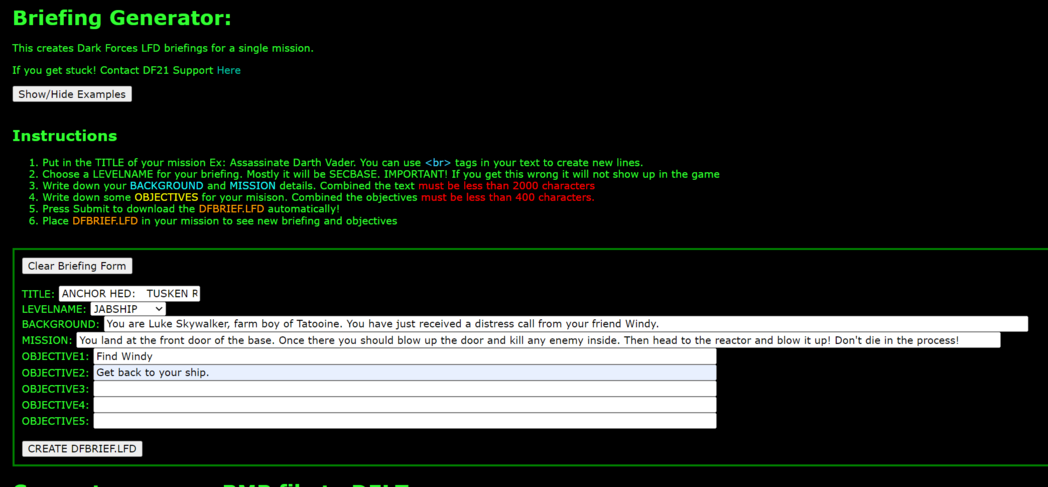
When you are done - press "Create DFBRIEF.LFD" and it seconds you will download the file. Copy this file to anchor2.zip and rerun The Force Engine to see the new briefing. Otherwise, for the Remaster, copy DFBRIEF.LFD to the same folder as the dark.exe executable. Now you can test your briefing.
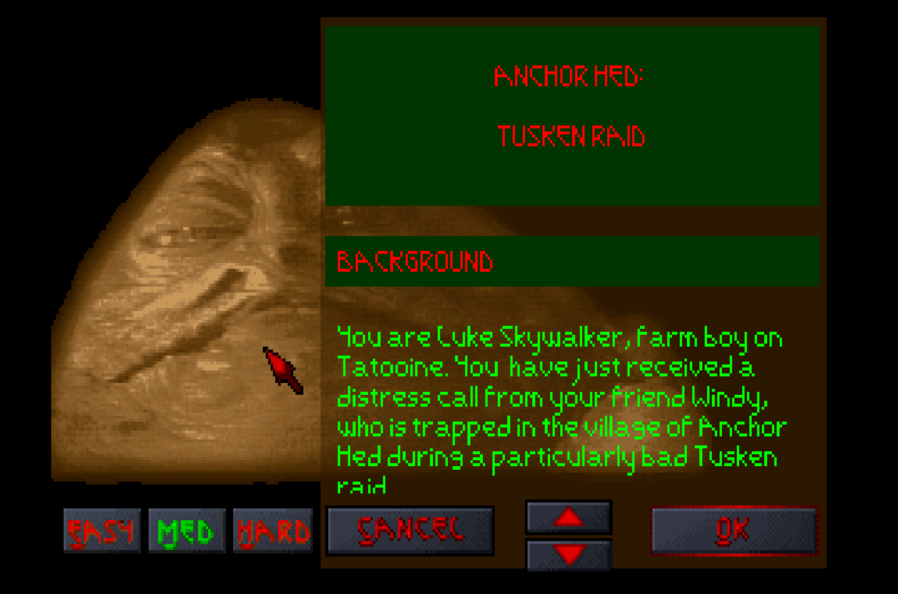
When the mission starts you should see the new briefing file! It's also present in the PDA Mission Briefing page.
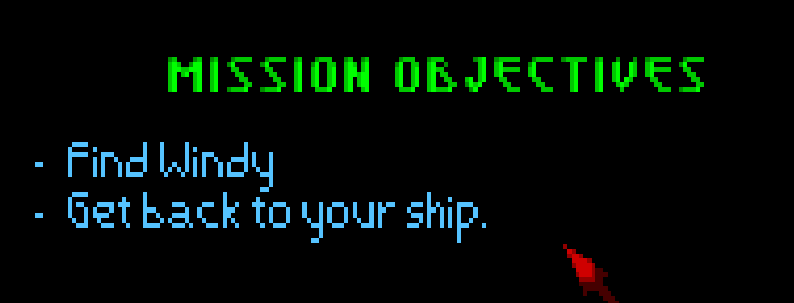
Additionally, if you click on the PDA objectives you will see them created as well.
If you are having issues seeing your new briefing it is most likely due to you choosing the wrong level to replace in the briefing (as shown as JEDI.LVL file) or the game cnanot find the DFBRIEF.LFD file (maybe you've made a typo?).
Note for multiple missions. If you have multiple missions then you need to create the ANIM and DELT files for each mission to replace. You can use the briefing generator yourself to make new DFBRIEF.LFD files and then use CONMAN to copy the ANIM/DELT files into a single DFBRIEF.LFD file.
Dealing with Images in the briefing
The briefing and the objectives in game are JUST IMAGES that are stored in the DELT format. The format is in 8-BIT (256 color) BMP files converted to DELT files. If you create a new briefing you will get a preview of your image. If you click on it - you can download the raw BMP file.
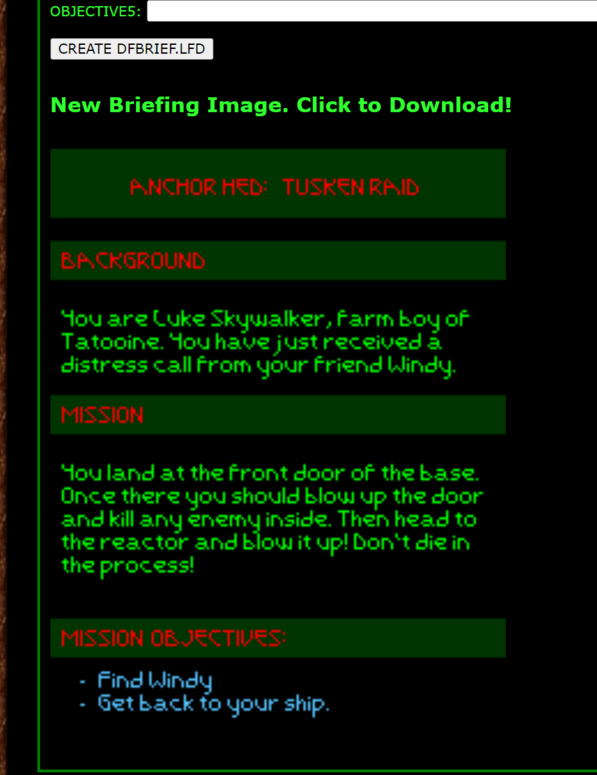
Once you click on the image and download it you can use any image program, including PAINT to make your changes. So it should look like this in the PAINT program where you can draw whatever you want. Here I drew a smily face in the middle of it.
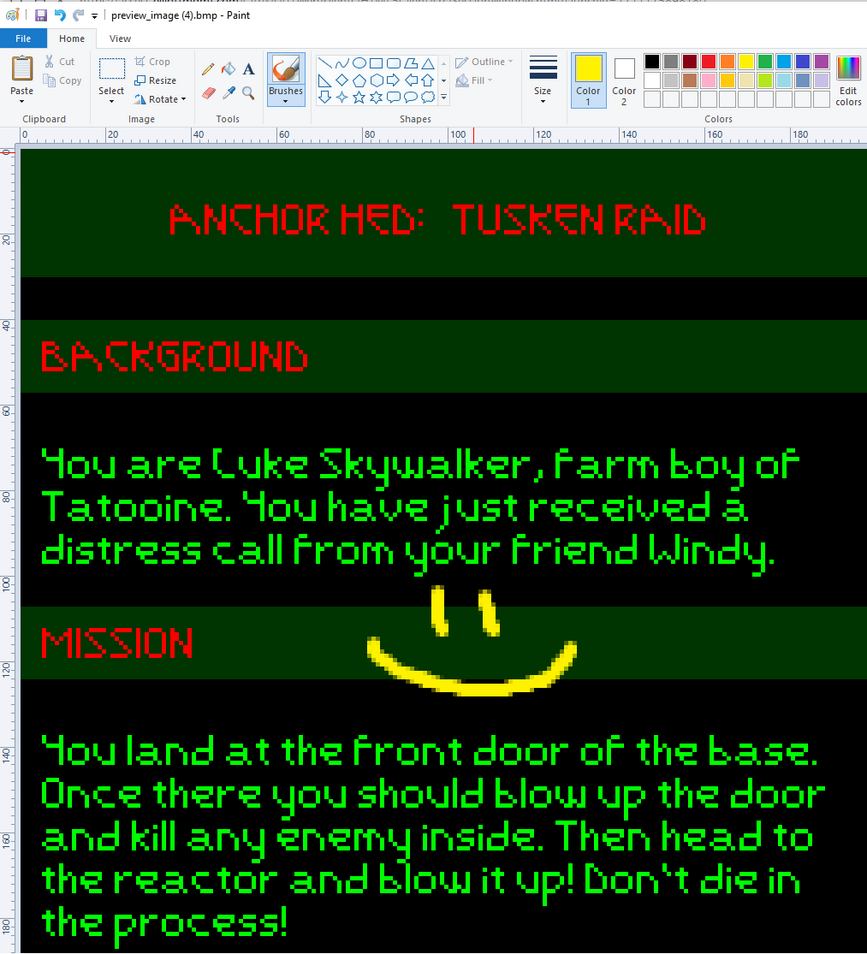
Once you are done, save the file as an 8-BIT BMP file (in the SAVE AS options). In this casse we saved as anchor.bmp. Then to convert it back to DELT format simply go back to the briefing generator page and select the BMP you've created and press UPLOAD to create a new DELT file.

The program will convert the BMP to DELT format and you will download a file called converted_<uniqueid>.DELT. You need to rename it to the mission name, in our case JABSHIP.DELT and put the delt file (using CONMAN) back into DFBRIEF.LFD to see your changes.
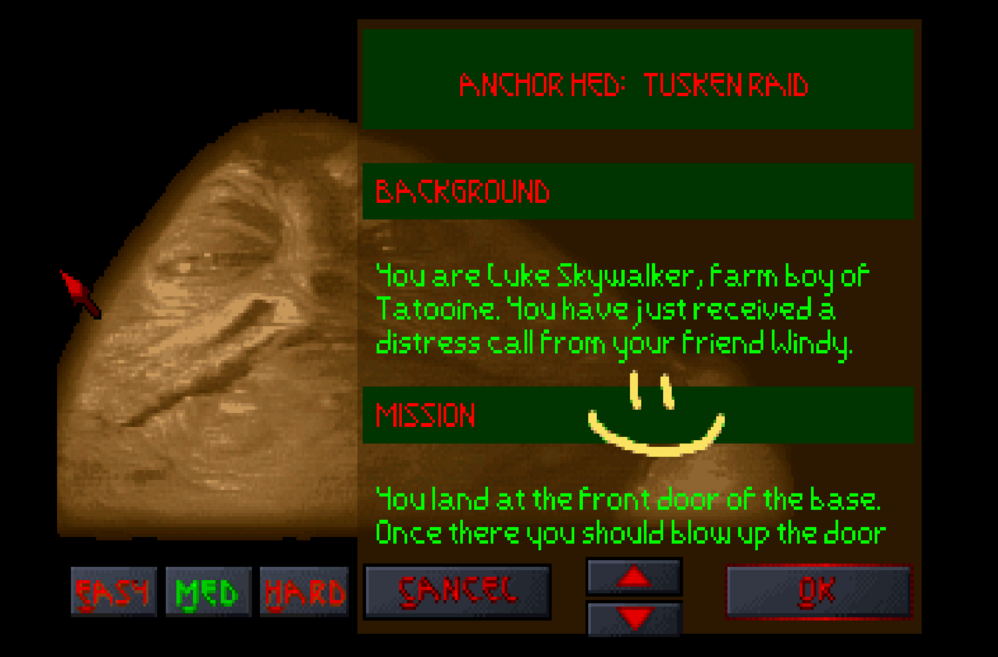
See - it is pretty easy to do whatever you want with custom briefings!
